
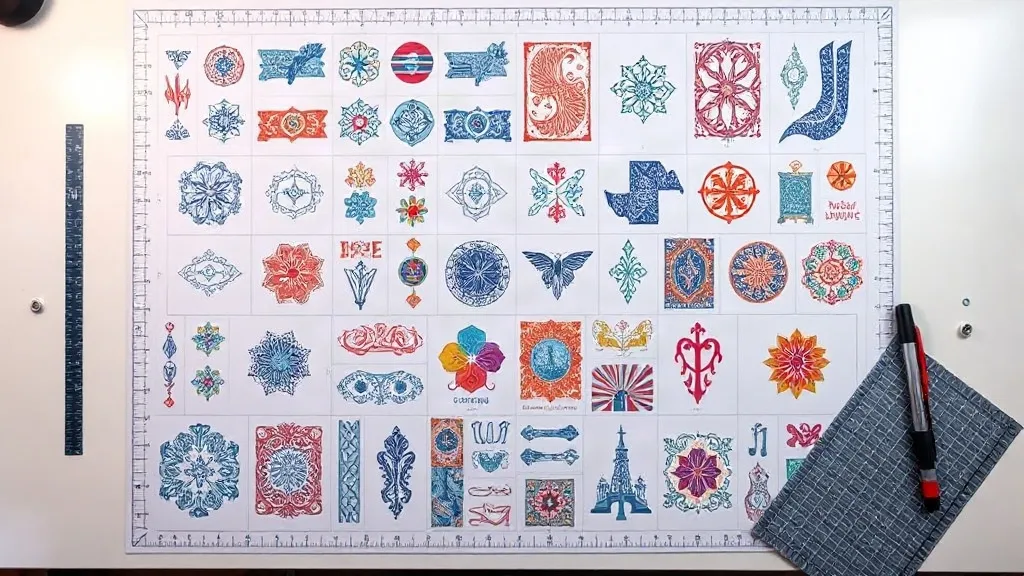
If you run a small print shop or an apparel brand, you know that every cent counts. Film, ink, and powder add up quickly, and inefficient layouts can eat into your margins. That's where the DTF Gangsheet comes in. By grouping multiple designs onto a single sheet, you maximize your materials and minimize waste. But it's not just about cramming as many images as possible. Smart gangsheet planning can streamline your entire workflow, from file prep to pressing. In this guide, we'll explore how to use gangsheets to cut costs and boost output without sacrificing quality.
Why Gangsheets Matter for Your Bottom Line
DTF printing has revolutionized custom apparel, but the costs of consumables can be high. Film, ink, and adhesive powder are your main expenses. Every square inch of unused film is money down the drain. A gangsheet lets you fill that film with multiple designs, so you're using nearly every bit of printable area. This directly reduces your cost per print. For example, if you print a single small logo on a letter-sized sheet, you're wasting most of the film. But if you nest ten logos on the same sheet, your cost per logo drops dramatically. Over hundreds of prints, those savings add up.
Maximizing Your Sheet with Smart Nesting
Nesting is the art of arranging designs on a sheet to use space efficiently. It's like solving a puzzle where every piece is a customer's order. The goal is to minimize gaps while keeping enough space between designs for clean cutting and pressing. Here are some practical tips:
- Rotate designs: Sometimes turning a design 90 degrees can fill awkward gaps.
- Group similar sizes: Place large designs first, then fill smaller ones around them.
- Leave a small margin: A 0.25-inch gap between designs prevents ink bleeding and makes cutting easier.
- Use nesting software: Many RIP software options have auto-nesting features that can save time and film.
Remember, the goal is not 100% coverage but optimal coverage without compromising quality. Overcrowding can lead to cutting errors and pressing issues.
File Prep for Efficient Gangsheets
Before you nest, your files need to be print-ready. Poor file prep can lead to reprints, which defeat the purpose of saving money. Ensure your designs are:
- High resolution: At least 300 DPI at final print size to avoid pixelation.
- Correct color mode: Use CMYK for accurate color reproduction.
- Transparent background: Remove any white backgrounds that could cause unwanted borders.
- Properly sized: Scale designs to the exact dimensions you need.
Also, consider the orientation of your designs. If you have text, make sure it's readable when printed. And always double-check for typos or errors before sending to print.
Reducing Film Waste: Beyond Nesting
Nesting is the biggest factor, but there are other ways to cut waste. For instance, you can reuse offcuts from previous jobs if they're large enough for small designs. Keep a bin for usable scraps and incorporate them into future gangsheets. Also, choose film sizes that match your typical order volume. If you often print small batches, a roll might be more efficient than pre-cut sheets. And don't forget to calibrate your printer regularly to avoid misprints that waste entire sheets.
Quality Control: Ensuring Consistency Across the Sheet
When you have multiple designs on one sheet, quality control becomes even more critical. A single flaw can ruin several prints at once. Here's what to check:
- Even ink coverage: Ensure no banding or streaks across the sheet.
- Powder application: Shake powder evenly and cure properly to avoid clumping.
- Cutting accuracy: Use a reliable cutter and check blade sharpness.
- Color consistency: All designs should have the same color vibrancy; if one looks off, it might indicate a printer issue.
Regularly inspect the first print off the press. If it looks good, the rest likely will too. But if you spot a problem, stop and fix it before wasting more materials.
Workflow Integration: From Order to Press
To truly benefit from gangsheets, integrate them into your workflow. For example, batch similar orders together. If you have several customers needing small logos, create a gangsheet that includes all of them. This not only saves film but also reduces setup time. Use order management software to group jobs by design size, color, and material. Then, generate gangsheets that combine compatible orders. Communicate with your customers about slightly longer turnaround times for batch orders, but highlight the cost savings you can pass on.
Common Mistakes to Avoid
Even experienced printers make mistakes with gangsheets. Here are pitfalls to watch for:
- Overcrowding: Trying to fit too many designs can lead to cutting errors and pressing difficulties.
- Ignoring grain direction: Some films have a grain that affects stretching; orient designs accordingly.
- Forgetting bleed: Add a small bleed to designs that will be cut close to the edge.
- Inconsistent spacing: Uneven gaps can cause uneven cutting and wasted time.
Learn from these mistakes and refine your process.
Frequently Asked Questions
What is a DTF gangsheet and how does it save money?
A DTF gangsheet is a single sheet of film containing multiple designs printed together. It saves money by maximizing film usage and reducing waste, as you fill the sheet with as many designs as possible.
Can I use gangsheets for small orders?
Yes, gangsheets are ideal for small orders. By combining multiple small designs onto one sheet, you avoid printing each on a separate sheet, which would waste film.
How do I ensure quality across all designs on a gangsheet?
Consistent file prep, proper printer maintenance, and thorough inspection of the first print help ensure quality. Also, use high-resolution images and correct color profiles.
What software helps with gangsheet nesting?
Many RIP software programs like Cadlink, Wasatch, and PhotoPrint offer nesting features. Some dedicated nesting tools are also available online.
Is there a limit to how many designs I can put on a gangsheet?
There's no strict limit, but overcrowding can cause cutting and pressing issues. Leave adequate spacing and ensure each design has enough bleed.