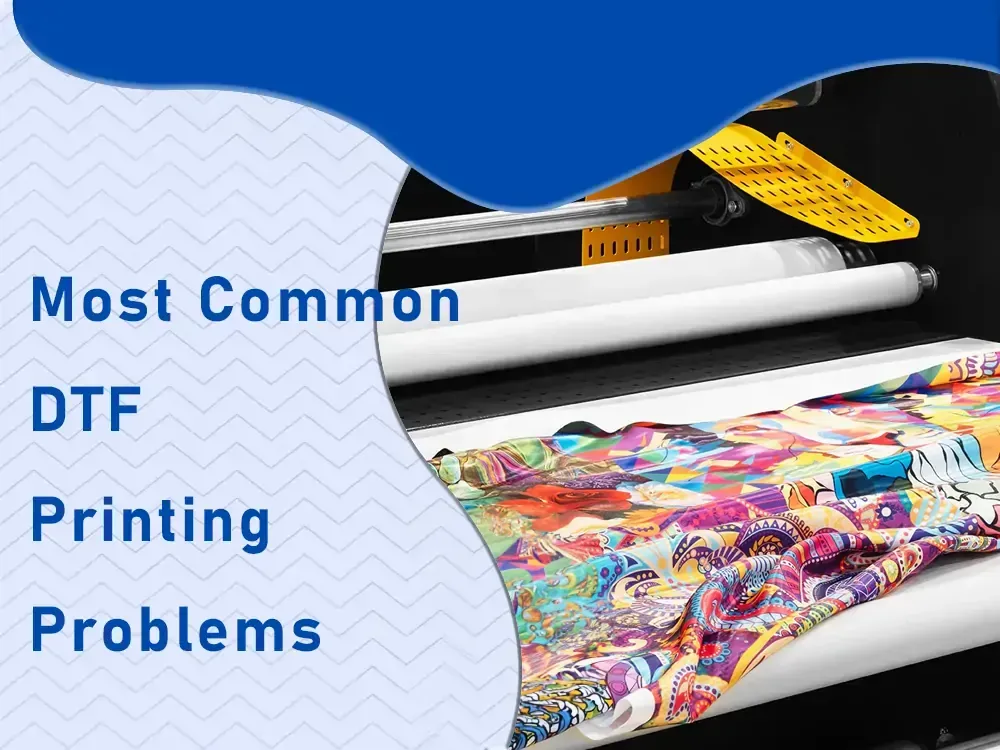
UV DTF printing troubleshooting is a practical guide to diagnosing why transfers may fail, from peel timing to curing and adhesion. From the start, mastering DTF peel timing, the DTF curing process, and proper substrate prep lets you avoid dull images and edge cracking. The guide emphasizes how UV-curable inks DTF interact with transfer film and substrates, so missteps in exposure or heat don’t ruin adhesion. By documenting tests and adjusting UV curing for DTF, operators can reduce misprints while speeding production. Readers will gain actionable steps, checklists, and best practices to consistently deliver durable, high-quality prints.
In broader terms, this topic centers on how UV-based film transfer for textiles and other substrates behaves during curing, bonding, and post-transfer handling. Web content often refers to peel timing, cure windows, and adhesion performance using synonyms like release schedule, cross-linking speed, and surface bonding strength. Editors describe common symptoms as tackiness, edge lift, or cracking after washing, and discuss pre-treatment, ink selection, and primer choices as remedies. A practical approach combines process calibration, substrate preparation, and equipment settings to minimize misprints and maximize wash-fast durability.
UV DTF printing troubleshooting: diagnosing peel timing, curing, and adhesion
UV DTF printing troubleshooting revolves around three interdependent pillars: peel timing, curing, and adhesion. When any one of these elements is off, the others are affected, leading to a dull image, weak bond, or a print that cracks and flakes after washing. By approaching issues through the lens of peel timing, curing process, and adhesion, you can identify root causes and implement practical fixes that improve durability and vibrancy over time.
In practice, this means tracking how early or late you peel, calibrating the UV curing process to your specific ink and substrate, and ensuring the adhesion layer is compatible with both the ink and the surface. Understanding how these variables interact helps you reduce misprints, shorten debugging cycles, and deliver consistent results for short-run garments and promotional items.
Mastering DTF peel timing for durable, sharp prints
Peel timing is the moment you lift the transfer film after the garment or surface has undergone the transfer and initial cure. Getting this window right is crucial for preventing ink smear, print distortion, or adhesive misalignment. A consistent peel timing strategy supports reliable adhesion and color integrity across batches.
Start with a baseline by printing swatches on representative substrates and noting the exact peel moments. Test multiple peel windows (for example, 60, 90, and 120 seconds) to observe how the ink and adhesive respond. Document these results and build a quick reference chart so future jobs follow proven timing, reducing variables and improving overall print quality.
UV curing for DTF: optimizing exposure, heat, and substrate compatibility
Optimizing the UV curing for DTF involves balancing the ink cure with the film adhesive and the substrate. Inadequate curing can leave a soft, rub-prone surface, while over-curing can cause embrittlement and poor adhesion. A well-tuned curing step ensures a durable, tack-free finish that resists washing and daily wear.
Key actions include matching UV lamp power and wavelength to the ink manufacturer’s guidelines, calibrating exposure time with test strips, and monitoring any heat generated during curing to avoid substrate distortion. Regularly verifying full cure with a wipe test or a simple surface check helps ensure the print will withstand handling without sacrificing color vibrancy or flexibility.
Tackling DTF adhesion issues across substrates
DTF adhesion issues arise when the transfer film’s adhesive bond does not properly anchor to the substrate, causing peeling, cracking, or edge lifting. These problems can stem from inadequate surface preparation, substrate incompatibility, or suboptimal curing that prevents a strong bond between ink, adhesive, and material.
Address adhesion with a combination of proper surface prep, compatible primers or surface energy enhancers, and adhesive selection tailored to the substrate (cotton, synthetics, coated metals, etc.). Controlling ink thickness and ensuring consistent post-press conditions also play crucial roles in achieving durable adhesion across a range of fabrics and hard surfaces.
The role of UV-curable inks DTF in color vibrancy and durability
UV-curable inks DTF bring bright color, crisp details, and quick curing that suits short-run production. The formulation of these inks affects not only color accuracy but also how well the ink bonds to the transfer film and substrate after the curing stage. A well-chosen UV-curable ink system helps minimize issues related to wash durability and edge integrity.
Selecting inks that balance viscosity, cure speed, and substrate compatibility is essential. Pair the inks with matched films and adhesives and tailor your pass count and curing parameters to preserve color depth while maintaining flexible, durable results that stand up to repeated washings and wear.
Building a repeatable UV DTF workflow: QA, testing, and long-term consistency
A repeatable workflow combines prepress calibration, standardized printing and transfer procedures, and a structured curing and post-cure routine. By documenting peel timing windows, exposure settings, substrate types, and observed outcomes, you create a knowledge base that makes future jobs more predictable and less error-prone.
Incorporate ongoing quality control, including cure completeness checks, adhesion tests, color verification, and wash tests as part of a simple QC protocol. Maintain consistency by using the same batch of materials, logging results, and updating SOPs as you refine peel timing, curing, and adhesion practices to ensure long-term reliability in UV DTF printing.
Frequently Asked Questions
What is UV DTF printing troubleshooting and how do peel timing, curing, and adhesion affect outcomes?
UV DTF printing troubleshooting is the process of diagnosing and resolving common issues in UV DTF workflow. Peel timing, curing, and adhesion are interdependent: peeling too early or too late can smear ink or pull adhesive, curing must fully harden the ink without embrittling the film, and adhesion depends on proper surface prep and compatible inks and adhesives. By treating these three pillars as a cohesive system, you can reduce misprints and improve durability.
How can I optimize DTF peel timing for UV DTF printing troubleshooting when using UV-curable inks DTF?
Start with a baseline by printing swatches on representative substrates and recording exact peel moments. Test multiple peel windows (for example 60, 90, and 120 seconds) and document outcomes. Consider ink–film interactions since some UV-curable inks DTF cure faster and may shift optimal peel timing. Monitor substrate temperature, as cooler surfaces may need longer dwell before peeling.
What signs indicate issues in the DTF curing process during UV DTF printing troubleshooting, and how can I correct them?
Watch for a tacky or soft surface, ink smearing, or brittle edges after curing. To fix this, verify UV source irradiance matches ink recommendations, calibrate exposure time and distance, and ensure heat from the curing system isn’t causing warping. Use test strips and a wipe test to confirm a complete cure and adjust exposure until the surface is tack-free and fully cured.
How can I diagnose and fix DTF adhesion issues on different substrates in UV DTF printing troubleshooting?
Adhesion issues often come from insufficient surface prep, substrate incompatibility, or suboptimal curing. Improve adhesion by thoroughly cleaning and prepping the substrate, using compatible primers or coatings, selecting adhesive formulations suited to the substrate, and controlling ink thickness. Post-press conditions (temperature, humidity, dwell time) should be consistent to preserve adhesion.
What role do UV-curable inks DTF play in troubleshooting and how should I adjust curing to achieve durable results?
UV-curable inks DTF require matching the ink’s cure requirements with your UV light source. Follow manufacturer guidelines for wavelength and irradiance, calibrate exposure times using test strips, and avoid over-curing which can cause embrittlement. Also verify that the adhesive layer and substrate respond well to the chosen curing setup to ensure durable results.
What practical workflow steps can integrate peel timing, curing, and adhesion to improve UV DTF printing troubleshooting?
Adopt a repeatable workflow: prepress calibration and color management; print and transfer with tested settings; an initial cure check for tackiness; establish a consistent peel timing window and document substrate, ink, and curing parameters; perform post-cure verification and a wash/adhesion test; maintain a troubleshooting log to refine settings over time.
| Aspect | Why it matters | Key actions / Takeaways |
|---|---|---|
| Peel timing | Peel timing affects ink stability and adhesive bond. Peeling too early can smear or stretch; peeling too late can dull the print, cause tackiness, or trap air. | Baseline tests with representative substrates; test multiple peel windows (e.g., 60–120s); consider ink/film interactions; monitor substrate temperature. |
| Curing | Proper UV cure cross-links the ink and adhesive for a durable bond. Under-cure yields smearing; over-cure can cause embrittlement and poor adhesion. | Know your UV source and irradiance; calibrate exposure time with test strips; verify heat handling; perform a simple wipe test to confirm full cure. |
| Adhesion | Adhesion failure leads to peeling, cracking, or flaking after washing. Causes include poor surface prep, substrate incompatibility, or suboptimal curing. | Pre-treat and prep surfaces; choose compatible adhesives; control ink thickness; monitor post-press conditions (temperature, humidity, dwell time). |
| Integrated workflow | Consistent, repeatable processes reduce misprints by aligning peel, cure, and adhesion steps. | Prepress calibration; standardized print/transfer methods; initial cure check; define a peel timing window; post-cure verification; simple QC for each batch. |
| Best practices & maintenance | Sustained quality relies on stable materials and reliable equipment; variation can undermine results over time. | Use same-batch films, inks, and adhesives; maintain a troubleshooting log; invest in a stable UV lamp and calibrated heat equipment; develop SOPs; test on real substrates. |
Summary
Conclusion: UV DTF printing troubleshooting is a structured approach that centers on the relationship between peel timing, curing, and adhesion. By carefully coordinating when to peel, how long to cure, and how to prepare and bond to the substrate, you can achieve durable, vibrant results. A repeatable workflow with documented settings, ongoing testing, and substrate-specific adjustments helps reduce misprints and ensures UV DTF prints withstand washing and daily wear.