DTF printing tutorial for beginners opens a doorway to practical fabric decoration, offering a hands-on, Georgia-friendly approach that makes complex concepts feel accessible for hobbyists, crafters, and aspiring small-business owners alike, while emphasizing safety, budget-smart gear choices, and a community-driven learning pace that respects busy schedules and local workshop constraints. From understanding the basics of direct-to-film to selecting the right DTF film, ensuring you have compatible printing supplies, and choosing dependable DTF transfers, this guide walks you through a clear path to confident results, including troubleshooting tips, sample checklists, and space-saving setup ideas tailored for Georgia studios, classrooms, or garage shops. You’ll learn crucial steps like optimizing heat press temps, calibrating pressure, selecting reliable DTF ink that delivers vibrant, durable transfers on cotton, blends, and synthetics, and documenting settings to reproduce consistent outcomes, while also noting substrate compatibility, post-press care, and the value of keeping a dedicated, dust-controlled workspace. Along the way, practical Georgia-specific tips cover humidity, room setup, ventilation, ergonomic workflow, and safe handling that help beginners avoid common pitfalls while staying compliant with local workshop space rules and appreciating the nuances of humidity swings across Atlanta summers and Savannah humidity. By the end of this introductory journey, you’ll have the habits, a repeatable process, a basic materials checklist, and a foundation you can build on to scale your DTF projects into marketable products for apparel, home décor, or custom gifts.
Think of this as a friendly primer on the world of film-based transfers, where artwork is printed on a special carrier, coated with adhesive powder, cured, and then fused to fabric using a heat press, with careful attention to timing and alignment. Using terms like direct-to-film, DTF transfers, and the heat-press method, we map the entire workflow—from artwork preparation and film selection to powder application and final curing, highlighting the role of consistent equipment, clean environments, and step-by-step checklists. By focusing on core principles rather than brand names, the guidance aligns with LSI strategies to connect related topics such as DTF ink quality, film types, adhesive powders, curing times, pre-treatments, and essential printing supplies. A reader-friendly overview emphasizes environmental factors—humidity, temperature stability, airflow, and substrate compatibility—and how these variables influence image clarity, color depth, wash-fastness, and longevity across cotton, poly blends, and other fabrics. With this approach, beginners gain a conceptual map that helps them choose tools, track results, and refine their process as they practice with different fabrics, inks, and transfer films to expand their DTF capabilities and launch small production runs.
DTF printing tutorial for beginners: Georgia edition to start your fabric business
If you’re new to fabric decoration, this DTF printing tutorial for beginners guides you from first concept to a confident, repeatable workflow. You’ll learn how direct-to-film designs are printed onto a specialized DTF film, dusted with adhesive powder, cured, and then transferred with a heat press to a variety of fabrics. The process emphasizes reliable steps, consistent color, and a practical setup that fits a Georgia workshop or classroom.
As you navigate DTF transfers and the broader family of direct-to-film methods, you’ll discover how the right printing supplies—from DTF ink to the correct DTF film—impact color vibrancy and durability. This guide highlights the importance of a structured workflow, good habits for calibration, and a clean, organized space that minimizes dust and misprints. By practicing with scrap fabrics and keeping detailed notes, you’ll build a foundation you can scale as you grow your Georgia-based business.
DTF transfers and the direct-to-film workflow: a clear, beginner-friendly overview
DTF transfers refer to the entire lifecycle of a direct-to-film design—from printing on the film to applying adhesive powder and transferring the image to fabric. This section distinguishes DTF from DTG and sublimation, helping beginners understand what makes the process predictable and repeatable. You’ll get a sense of how the DTF film, printed with vibrant DTF ink, becomes a durable garment-ready transfer.
Understanding the direct-to-film workflow in practice means focusing on the small, repeatable steps: print on the DTF film, coat with adhesive powder, cure, and press onto fabric with proper heat and pressure. With the right printing supplies and careful temperature control, you can achieve consistent results across cotton, poly blends, and more. Emphasizing alignment, color management, and clean handling will reduce misregistration and maximize transfer quality.
Selecting printing supplies and equipment for home workshops
Choosing the right tools sets the tone for every DTF project. Start with a compatible printer, DTF film, adhesive powder, curing method, heat press, and protective gear, all backed by reliable RIP software for color management. This section focuses on assembling a beginner-friendly kit that covers essential printing supplies and leaves room for upgrading as you gain experience.
Georgia workshops benefit from a setup that remains stable in varied humidity and temperatures. Prioritize a dry, dust-controlled workspace and a dependable heat source with accurate temperature controls, silicone sheets, and protective mats. By documenting your go-to film types and powder batches, you’ll create a repeatable system that reduces waste and speeds up future runs.
Mastering heat press temps and curing for durable DTF film transfers
Heat press temps and dwell time are critical to the success of each transfer. This section guides you to identify a practical starting point for different fabrics and DTF film types, then adjust through small, controlled tests. Consistent pressure and even heat across the transfer area help your DTF ink lay down crisply and bond securely to the fabric.
Curing the adhesive powder properly is essential for durability. You’ll learn how to select appropriate curing methods and how to manage room conditions to avoid warping or uneven adhesion. By connecting heat press temps with real-world fabric properties and film behavior, you’ll develop a reliable routine that yields durable, vibrant transfers in Georgia classrooms or workshops.
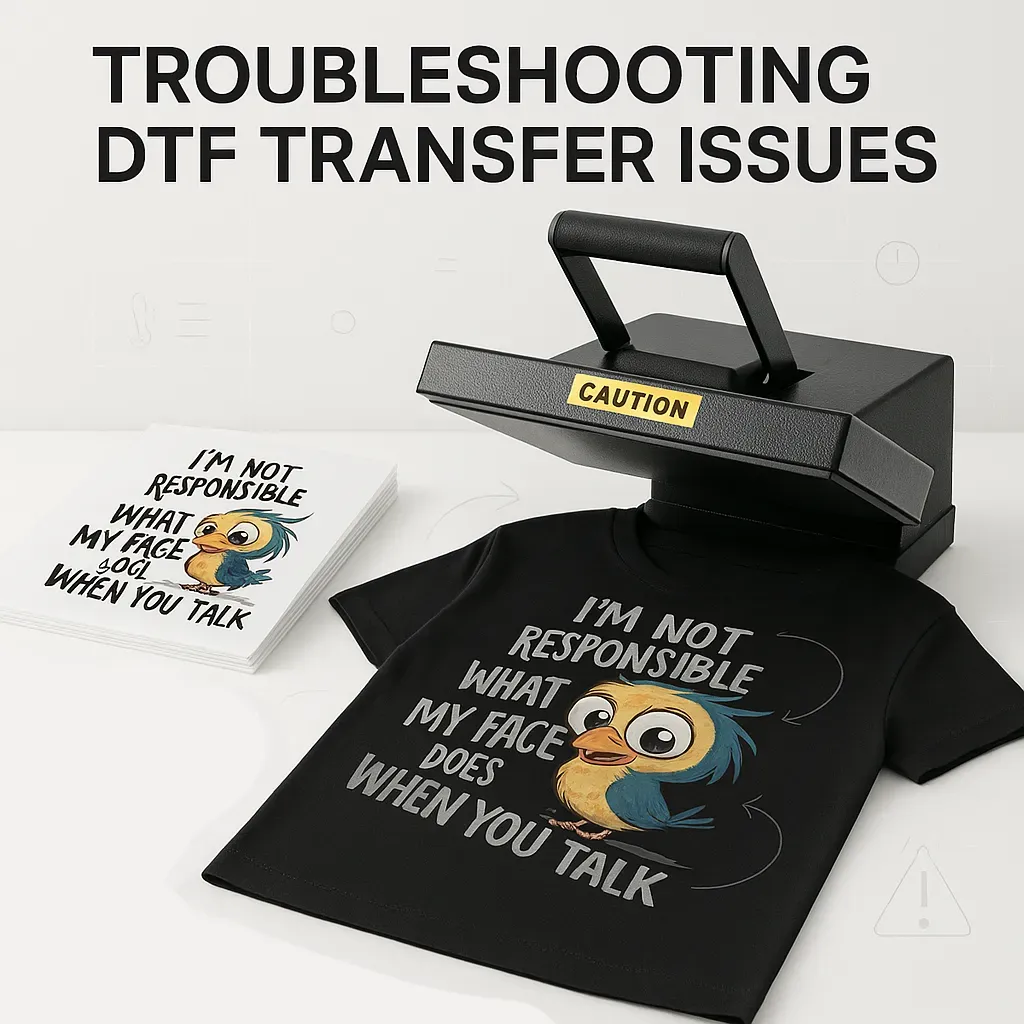
Troubleshooting guide for DTF ink, film, and transfer quality
Even with a solid workflow, beginners may encounter issues such as color inconsistencies, edge lifting, or white underbases appearing uneven. This section helps you diagnose common causes—from film handling to powder application—and offers practical steps to correct them using your available printing supplies and equipment.
Building a routine around testing, notes, and incremental adjustments helps you scale from small runs to larger batches. Focus on color management, consistent heat, time, and pressure, and use test sheets to track how different fabrics respond to your DTF film and DTF ink. With careful documentation, you can minimize waste and steadily improve your transfer quality.
Frequently Asked Questions
What is DTF printing and how do DTF transfers work in a direct-to-film workflow?
DTF printing is a direct-to-film process where artwork is printed on a special DTF film using DTF ink, then coated with adhesive powder, cured, and transferred to fabric with a heat press. The adhesive bonds the ink to the fabric, producing durable, vibrant DTF transfers. This direct-to-film workflow differs from DTG and sublimation because the image is created on film first and then applied with a powder adhesive.
What printing supplies should a beginner have for successful DTF transfers and direct-to-film projects?
Essential printing supplies include a DTF printer or compatible setup, DTF film sheets, DTF ink, adhesive powder, a powder shaker, a curing device or heat source, a reliable heat press with accurate temperature and time controls, silicone or teflon sheets, a heat-resistant mat, RIP software or color-management tools, and appropriate substrates plus pre-treatment options. Keeping a clean, dust-free workspace helps maintain print quality.
How should I determine the right heat press temps and dwell times for DTF transfers on different fabrics?
Start with the film or powder manufacturer’s guidelines and perform small test prints on scrap fabric. Use a mid-range heat press temperature, apply even pressure, and adjust temperature and dwell time in small increments based on results. Always verify compatibility with your film, ink, and fabric type, and note down settings for consistency.
What are common issues beginners face with DTF transfers and how can I troubleshoot them?
Common issues include powder not coating uniformly, white underbase appearing uneven, peeling or cracking after transfer, and misregistration. Troubleshoot by ensuring the printed film is warm for even powder adhesion, re-coating and re-curing if needed, validating heat press temperature and pressure, using proper pre-treatment for fabrics, and re-checking alignment before transfer.
In a DTF printing tutorial for beginners, what is the recommended step-by-step workflow from design to final cure?
A practical workflow is: 1) Design preparation (high resolution, color profile); 2) Print setup and calibration; 3) Printing the film with DTF ink; 4) Powder coating and curing; 5) Substrate preparation; 6) Transfer with heat press and finish; 7) Post-press checks and cooling; 8) Cleaning, maintenance, and documentation for repeatability.
| Topic | Key Points |
|---|---|
| Introduction | Georgia-based, hands-on DTF printing guide designed to take beginners from zero to confident using a clear step-by-step process. DTF = direct-to-film printing: print on film, apply adhesive powder, cure, then transfer with a heat press. Aims to build a foundation for quality, consistency, and efficiency. |
| What you’ll gain | – Understand DTF transfers vs. DTG/sublimation – Beginner-friendly materials and equipment checklist (Georgia) – Repeatable, safe workflow to minimize waste and maximize print quality – Troubleshooting tips to save time as you scale up |
| DTF basics | Workflow: print on transfer film → coat with adhesive powder → cure → transfer with heat press. Results in durable, vibrant designs for cotton and blends. Focus on a consistent print-to-transfer process rather than chasing a perfect first run. |
| Materials & workspace | Core items: DTF printer, film sheets, adhesive powder, shaker/sifter, curing/heat source, reliable heat press, heat-resistant mat, silicone sheets, protective gear, RIP software, color-management tools, substrates (cotton, poly blends), and pre-treat options if needed. Georgia note: maintain a stable, dry, ventilated area at 65–75°F (18–24°C) with steady humidity. |
| Step-by-step workflow (overview) | A 12-step beginner workflow: 1) Design prep 2) Print setup/calibration 3) Printing the film 4) Powder coating 5) Curing 6) Substrate prep 7) Transfer with heat press 8) Peel carrier film 9) Post-press checks 10) Cleaning/maintenance 11) Color management 12) Recording results and scaling up. |
| Common issues & solutions | – Powder not coating uniformly: ensure film is warm and powder is evenly distributed; re-coat if needed – White underbase uneven: adjust color balance and ensure clean underbase layer – Peeling/cracking after transfer: verify temperature, dwell time, and even pressure; ensure fabric compatibility and proper cure – Substrate incompatibility: some fabrics need pre-treatment or different powder; start with 100% cotton or 60/40 cotton/poly to learn baseline |
| Georgia-specific considerations | Humidity and temperature influence curing and adhesion. Work in a humidity-controlled space when possible; maintain stable room temperature to avoid curing fluctuations. For workshops, provide a dust-controlled, well-ventilated station and a simple workflow chart to help students stay on track. |
| Tips to improve quality & efficiency | – Use a standard color palette and keep color profiles for common fabrics – Test sheets per substrate to track performance – Source quality films/powders and perform regular printer maintenance – Add heat press accessories (teflon sheets, silicone mats, timers) for consistency – Practice temperature probing and pressure calibration to reduce run-to-run variation |
Summary
Table above summarizes the key points of the base content in English, highlighting the core concepts, workflow, materials, troubleshooting, and Georgia-specific considerations for a DTF printing tutorial for beginners.